Print


Navigation to Sharkaire Documentation and Support Common issues and how to ? My mini split is not heating
My mini split is not heating
All sharkaire mini splits are furnished with heat pump feature that they will work as heater and the cooler.
In order to enable heating or cooling, the desired mode needs to be selected via remote sharkaire controller. Machine will not automatically switch between the cooling and heating modes automatically by increasing or decreasing the temperature settins.
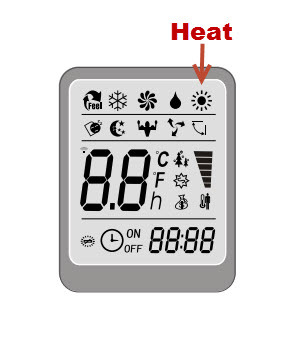
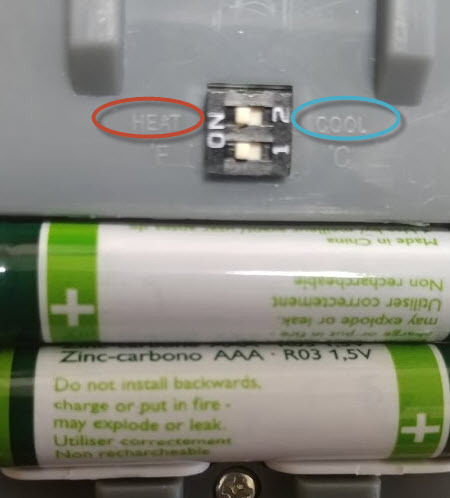
If user wants to use sharkaire mini split as a heater, the previous mode needs to be change to heater on the remote controller using a mode button. Also little dip switch in the battery compartment needs to be set pointing towards to heat.
In order to heating process to start, the inside temperature needs to be set 10 degree higher than the inside temperature. Otherwise inside unit will turn on and flaps will be on middle position and won't blow any hot air.
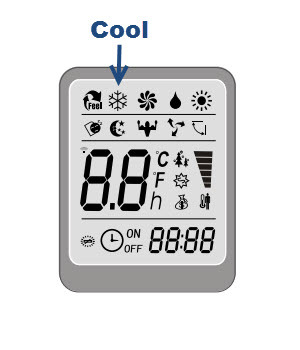
If user wants to use mini split as cooler, the previous mode needs to be change back cool on the remote controller using a mode button. Also little dip switch in the battery compartment needs to be set pointing towards cool.
In order to cooler to start, the inside temperature needs to be set 5 degree below than the inside temperature. Otherwise inside unit will turn on and flaps will be on middle position and won't blow any cold air.
Check points and possible problems.
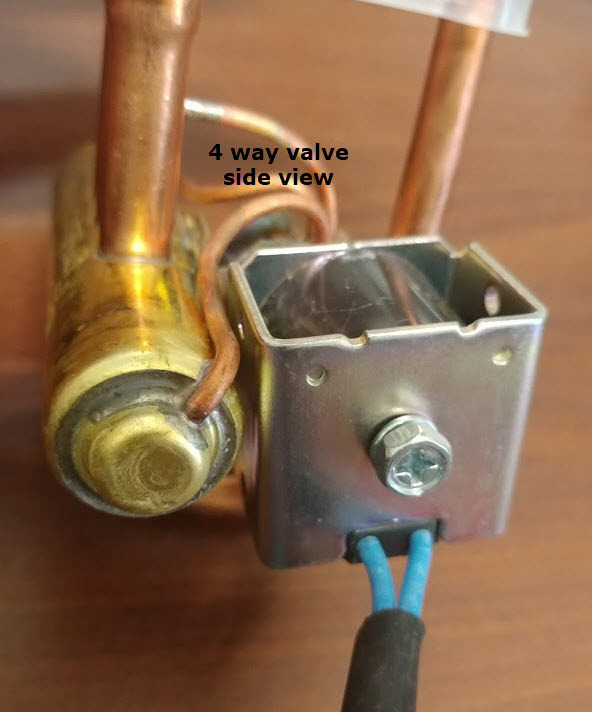
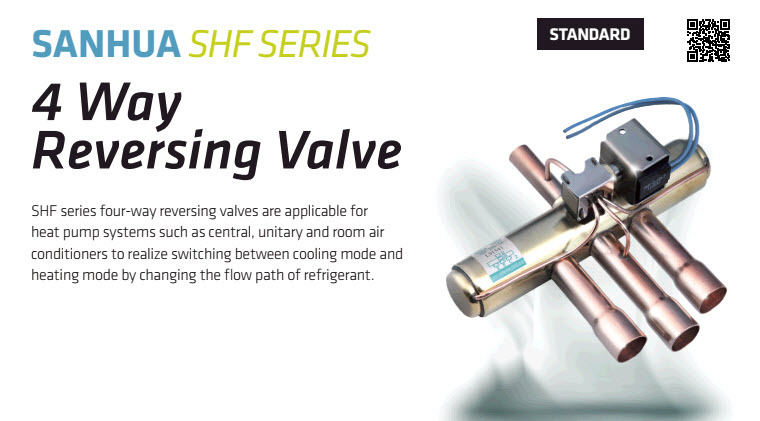
The heating with mini split done by reversing the refrigerant flow via 4 way valve. 4 way valve is energized with 120 VAC coil and when coil is energized the piston inside the 4 way valve move to opposite direction. When power being removed from the coil by selecting the cooling mode, piston goes back to original position which is cooling and mini split produces a cold air.
This operation is crucial for heating and coil needs to be energized and actually magnetized in order to move the piston ( can not be seen) inside the 4 way valve.
Voltage Checks on Heat Problems ( This section must be performed A/C technician or licensed electrician)
Terminal -1 (Brown wire) and Terminal N = 120 VAC
Terminal -2 ( Red wire ) and Terminal N = 120 VAC
Terminal -3 ( Yellow wire ) and Terminal N = 120 VAC ---- This wire goes to Coil of the 4 way valve
Coil Check;
Remove front and the top covers from the condenser unit.
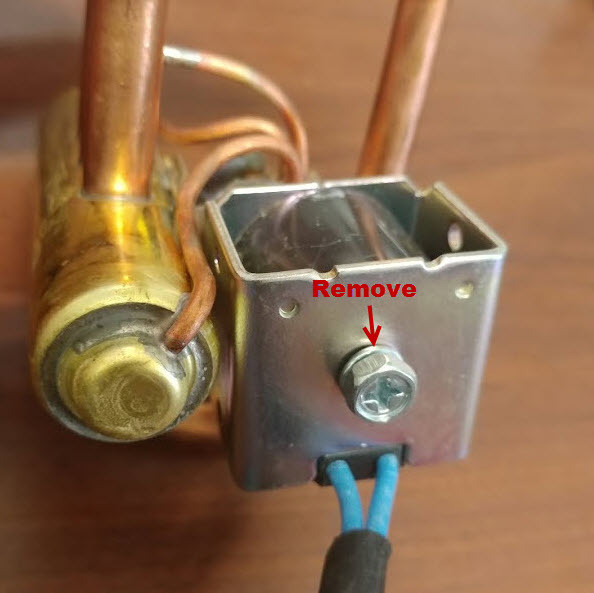
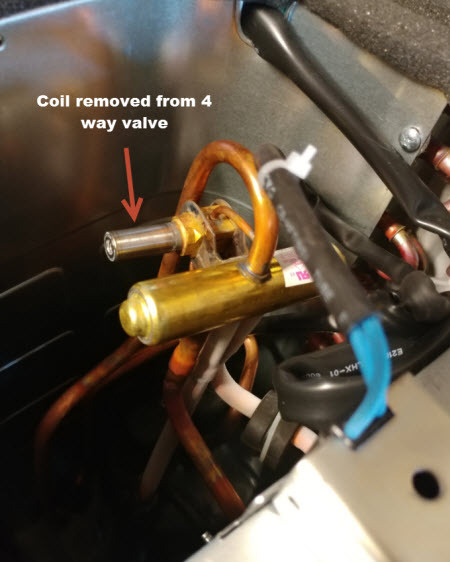
Locate the 4 way valve and it's coil and take out the coil from the 4-way valve by removing one screw.
While coil is still connected to the system via cables and observing electrical cautions,
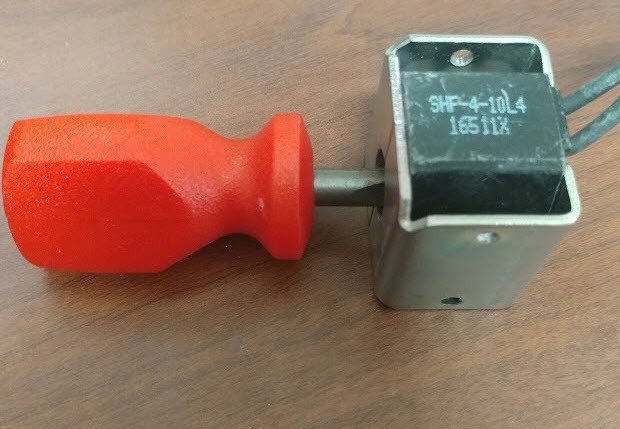
Turn on the system and carefully insert a metal screw driver without "magnetic tip" in side coil. .
If coil is energized and working properly it should pull the screw driver just like a magnet. If screw driver is not being effected by the coil even if it is energized you have a bad coil.
If screw driver effected by the coil and pulled in the coil is good and you have a bad 4 way valve.